Table of Contents
Smoking meat is an age-old tradition that has evolved into a culinary art form. With the rise of home smoking enthusiasts, vertical smokers have become a popular choice for their efficiency and space-saving design. If you're new to the world of smoking, a vertical smoker can be an excellent starting point. This comprehensive guide will walk you through the basics of using a vertical smoker, ensuring that even as a beginner, you'll be smoking like a pro in no time.
Key Takeaways:
- Understanding the basic operation of a vertical smoker.
- Step-by-step guide on preparing and smoking your first meat.
- Tips for maintaining the ideal smoking temperature and smoke quality.
Understanding Your Vertical Smoker
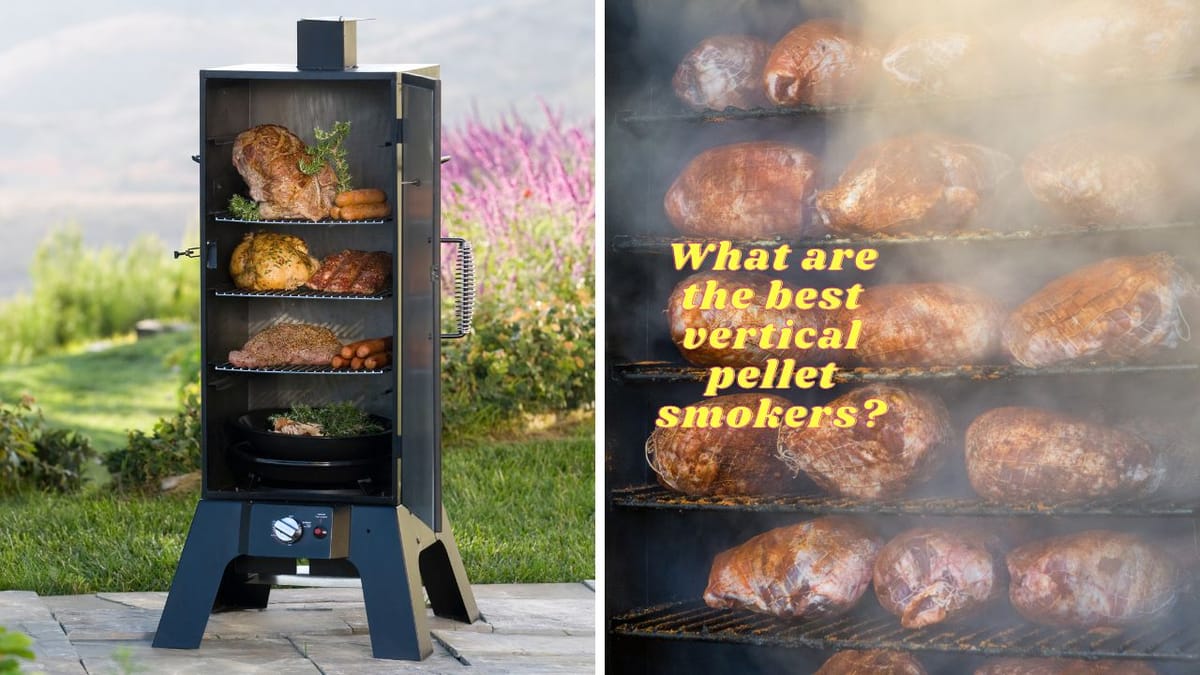
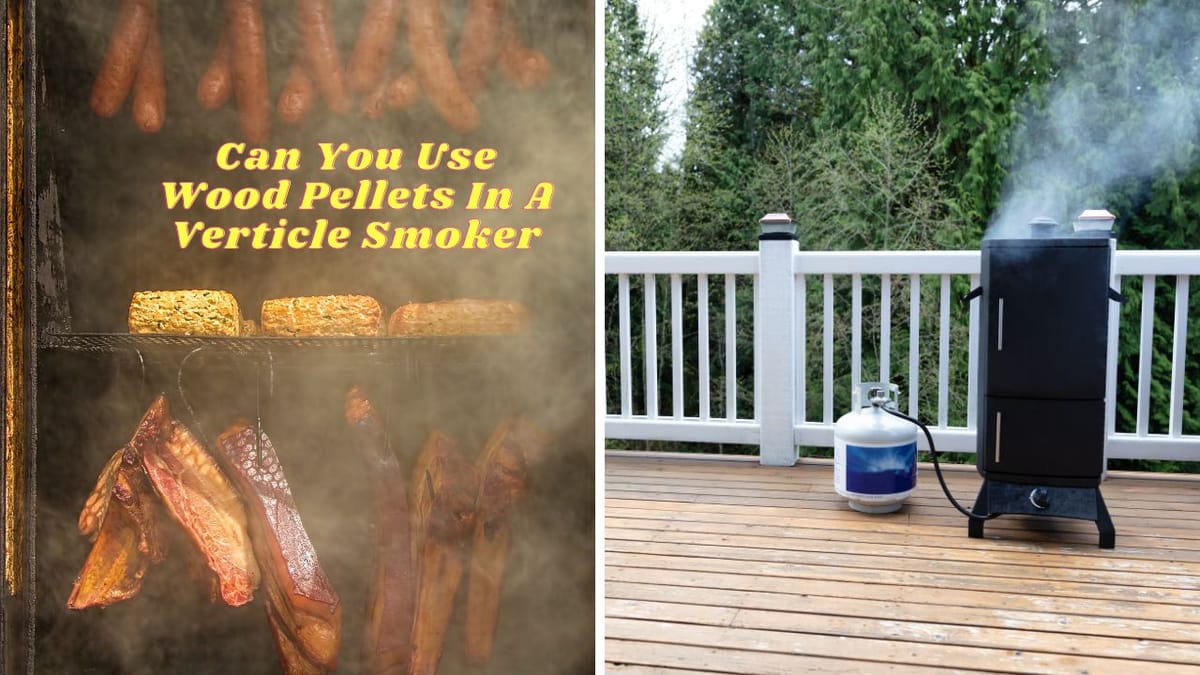
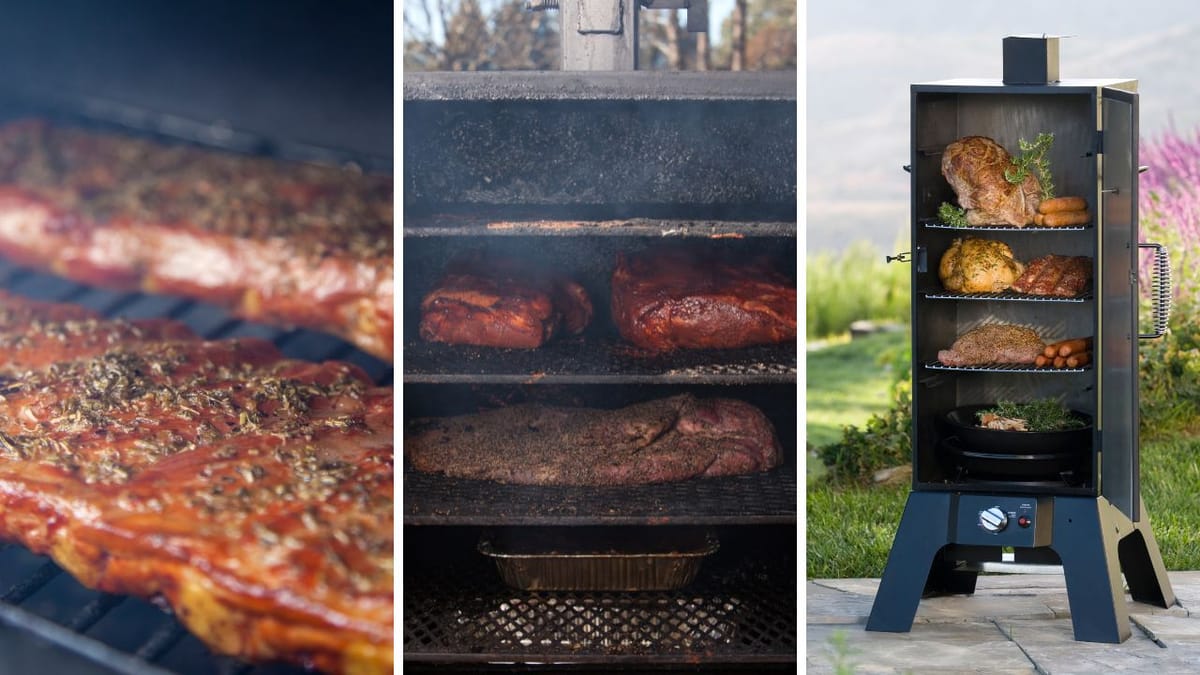
Before you can start smoking, it's crucial to understand how your vertical smoker works. Vertical smokers typically consist of a heat source at the bottom, water pan, smoking racks, and a vent system. The heat source can be charcoal, wood, gas, or electric. The water pan helps regulate the temperature and adds moisture to the smoke, which helps in cooking the meat evenly and keeping it juicy.
When you're familiar with the parts and their functions, you'll be better equipped to control the smoking process. Remember, the key to successful smoking is maintaining a consistent temperature and smoke flow throughout the cooking period.
Preparing Your Smoker
Preparation is paramount when it comes to smoking. Start by ensuring your smoker is clean and free from any residue that could affect the flavor of your meat. Next, you'll want to season your smoker if it's new. This involves coating the inside with cooking oil and running the smoker at high heat for a couple of hours. This process helps protect the smoker from rust and also creates a non-stick surface.
Once your smoker is seasoned, it's time to set it up for smoking. Fill the water pan, light your heat source, and let the smoker come up to the desired temperature before adding your meat. This preheating stage is crucial for the smoker to produce the right amount of smoke and to stabilize the temperature.
Choosing the Right Wood
The type of wood you choose will significantly influence the flavor of your smoked meat. Woods like hickory, mesquite, apple, and cherry are popular choices, each imparting a unique taste. For beginners, it's advisable to start with milder woods like apple or cherry, which are less likely to overpower your meat with smoke flavor.
It's also essential to use seasoned wood to avoid any unpleasant flavors from sap or moisture in the wood. You can buy wood chips or chunks specifically designed for smoking, which are readily available at most grilling stores or online.
Preparing Your Meat
The preparation of your meat is just as important as managing your smoker. Begin by choosing the right cut. Fattier cuts like pork shoulder or brisket are more forgiving and ideal for beginners. Trim any excess fat to about a quarter-inch thickness to help the smoke penetrate the meat.
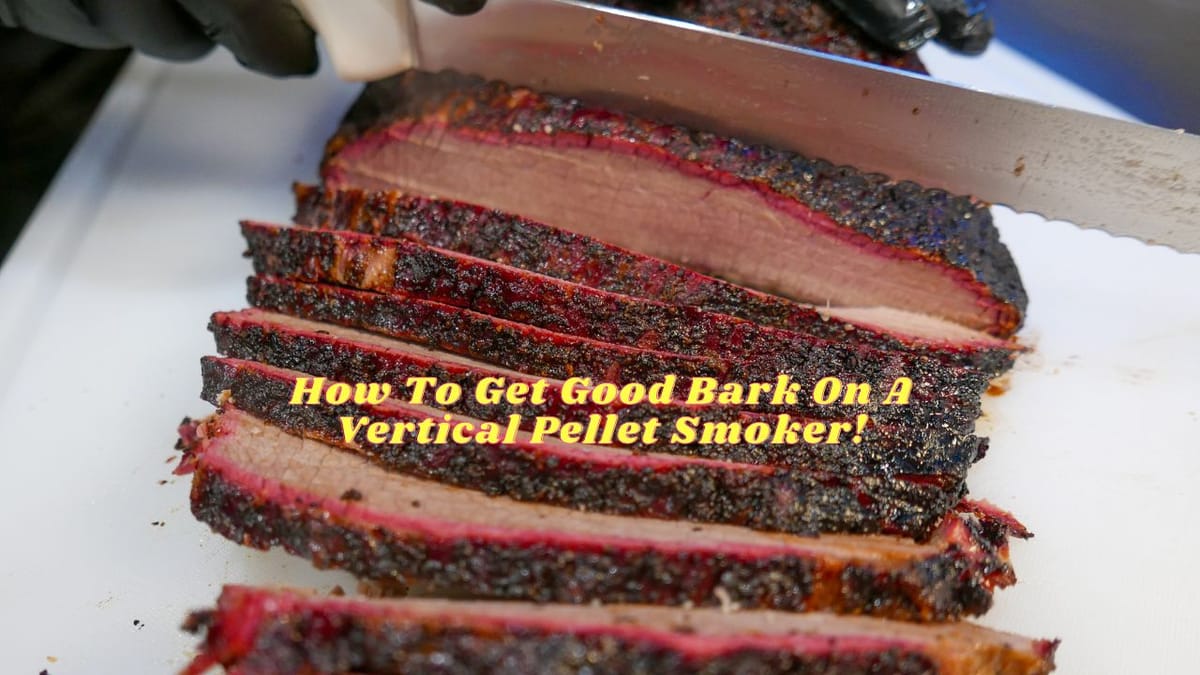
Next, apply your rub or marinade. This should be done well in advance, sometimes even overnight, to allow the flavors to penetrate the meat. Remember, the rub is not just for flavor; it also helps form the coveted 'bark' or crust on the outside of the meat during the smoking process.
Managing the Heat
One of the most challenging aspects of smoking for beginners is maintaining a consistent temperature. Aim for a temperature range between 225°F and 250°F, which is the sweet spot for most meats. Use the vents to control the airflow and, consequently, the temperature. Opening the vents will increase the temperature, while closing them will reduce it.
Keep an eye on the temperature gauge, and make adjustments as needed. It's better to make small, incremental changes than large ones, as this helps prevent temperature spikes or drops that can affect the cooking process.
The Smoking Process
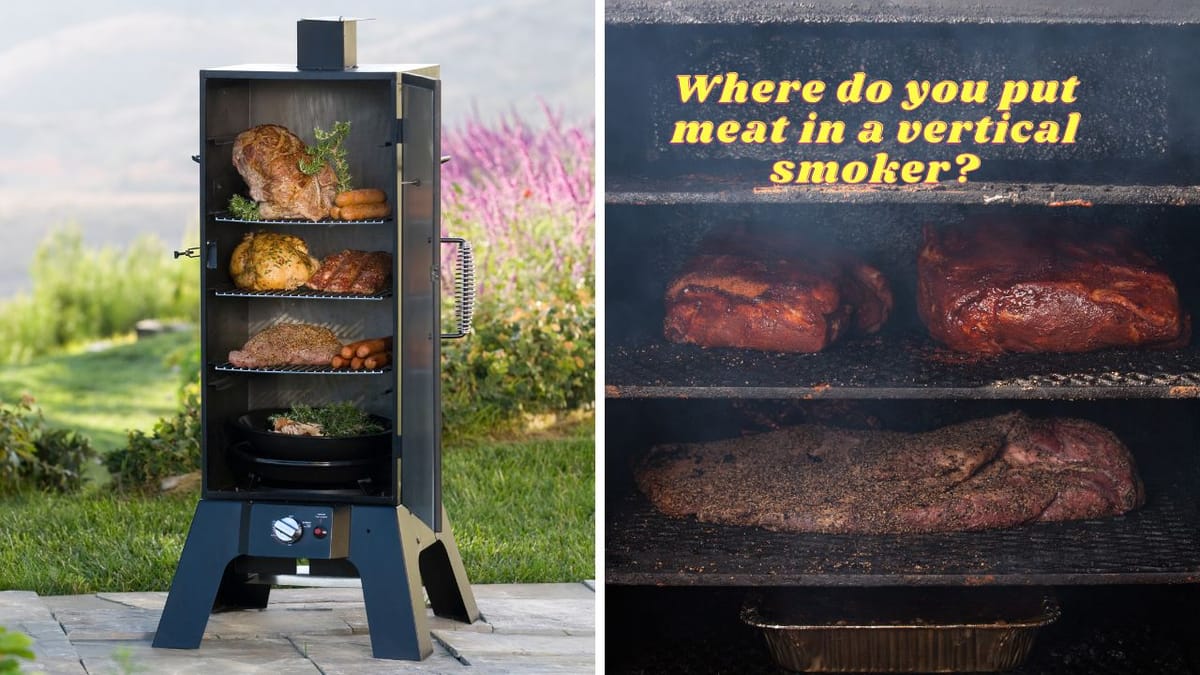
Now that your smoker is at the right temperature, it's time to place your meat on the racks. Position the meat in the center of the rack to ensure even cooking. Close the lid and let the smoker do its magic. Resist the urge to open the lid too often, as this can cause fluctuations in temperature and smoke levels.
Depending on the cut and size of the meat, smoking can take several hours. Use this time to monitor the smoker's temperature and smoke output. If you're using a charcoal smoker, you may need to add more charcoal or wood chips periodically to maintain the heat and smoke.
Monitoring Your Meat
While the smoker is doing most of the work, you still need to monitor your meat's internal temperature. Invest in a good meat thermometer to check the temperature without opening the smoker too often. Each type of meat has its ideal internal temperature for doneness, so be sure to know what temperature you're aiming for.
For example, pork shoulder is typically done when it reaches an internal temperature of 195°F to 205°F. This range ensures that the connective tissues have broken down enough to make the meat tender and juicy.
The Art of Resting Meat
Once your meat reaches the desired internal temperature, it's crucial to let it rest. Resting allows the juices to redistribute throughout the meat, resulting in a more tender and flavorful final product. Wrap the meat in foil and let it rest for at least an hour for large cuts like brisket or pork shoulder.
During this time, the meat will continue to cook slightly due to residual heat, which is known as carryover cooking. This is a normal part of the smoking process and should be accounted for when checking the meat's internal temperature.
Cleaning and Maintenance
After you've enjoyed your perfectly smoked meal, don't forget about cleaning and maintaining your smoker. Once the smoker has cooled down, remove any leftover ash or wood chips. Clean the racks and water pan with warm soapy water and dry them thoroughly to prevent rust.
Regular maintenance will extend the life of your smoker and ensure it's ready for your next smoking session. Cover your smoker or store it in a dry place to protect it from the elements.
Troubleshooting Common Issues
Even with careful preparation, you may encounter some issues during the smoking process. If the temperature is too low, check if you need to add more fuel or adjust the vents for better airflow. If the temperature is too high, close the vents slightly and give the smoker time to stabilize.
If you're not getting enough smoke, ensure that your wood chips or chunks are not too wet and that there's enough airflow to keep them smoldering. Remember, you're aiming for thin, blue smoke, which is the sign of a clean-burning fire and optimal flavor.
Summary
Using a vertical smoker as a beginner might seem daunting, but with the right knowledge and preparation, it can be a rewarding experience. Understanding your smoker, choosing the right wood, preparing your meat, managing the heat, and monitoring the smoking process are all critical steps to achieving that perfect smoke. Remember to let your meat rest after smoking and to maintain your smoker for future use. With practice, you'll be smoking like a seasoned pitmaster in no time.
FAQ Section
How long does it take to smoke meat in a vertical smoker?
The time it takes to smoke meat can vary greatly depending on the type of meat, its size, and the temperature you're smoking at. Generally, it can take anywhere from 1 to 12 hours or more. Always use a meat thermometer to determine when your meat is done.
Can I use any type of wood in my vertical smoker?
While you can use many types of wood, it's best to choose hardwoods that are meant for smoking. Avoid using softwoods like pine, as they can impart a resinous flavor and are not suitable for smoking food.
How often should I check the temperature of the meat?
It's best to check the temperature of the meat every hour or so, depending on the cut and size. However, try to minimize opening the smoker too often, as this can lead to heat loss and longer cooking times.
Other Related Articles
